In previous blogs, we covered the basics and how to setup. Now it’s time to get hands-on with two of the most powerful features of tmux: windows and panes.
These are the building blocks of a tmux-powered terminal workflow, letting you split, organize, and navigate multiple tasks in a single session. Let’s assume that we will use ctrl + a as prefix.
What Are tmux Windows?
Think of windows in tmux as full-screen terminal tabs. Each session can have multiple windows, and each window can run different processes.
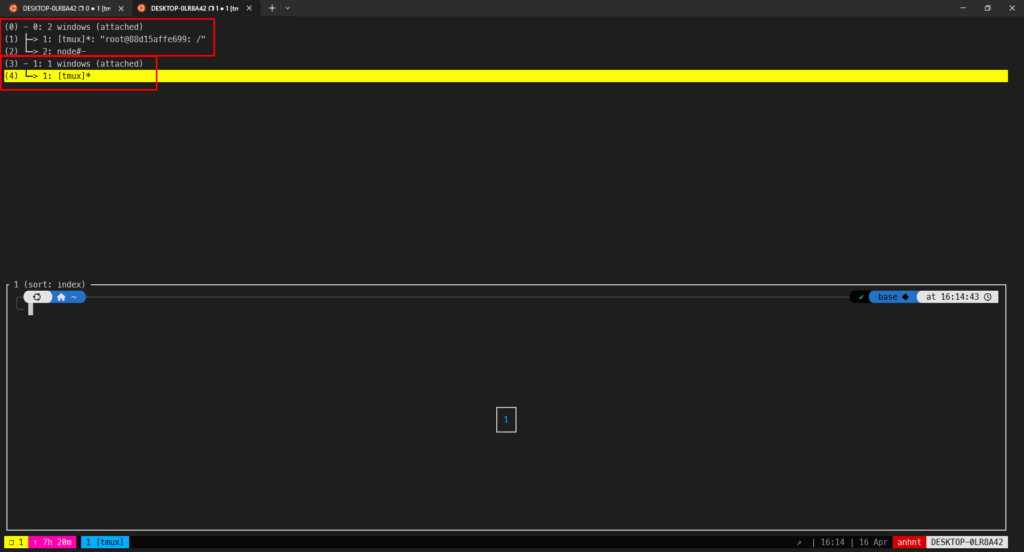
👉 Create a new tmux window:
ctrl + a, then cThis creates a new window in your current tmux session.
👉 Switch between windows in tmux:
Ctrl + a, then n  # next window
Ctrl + a, then p  # previous window
Ctrl + a, then <number>  # go to window number (e.g., Ctrl+a then 1)
👉 Rename a window in tmux:
Ctrl + a, then ,You’ll be prompted to enter a new name. This helps keep things organized when you have multiple windows open.
👉 Close a window:
Just type exit in the terminal pane to close the active window.
What Are tmux Panes?
Panes let you split a single tmux window into multiple sections. You can run different commands in each pane — perfect for side-by-side workflows like editing code and watching logs.
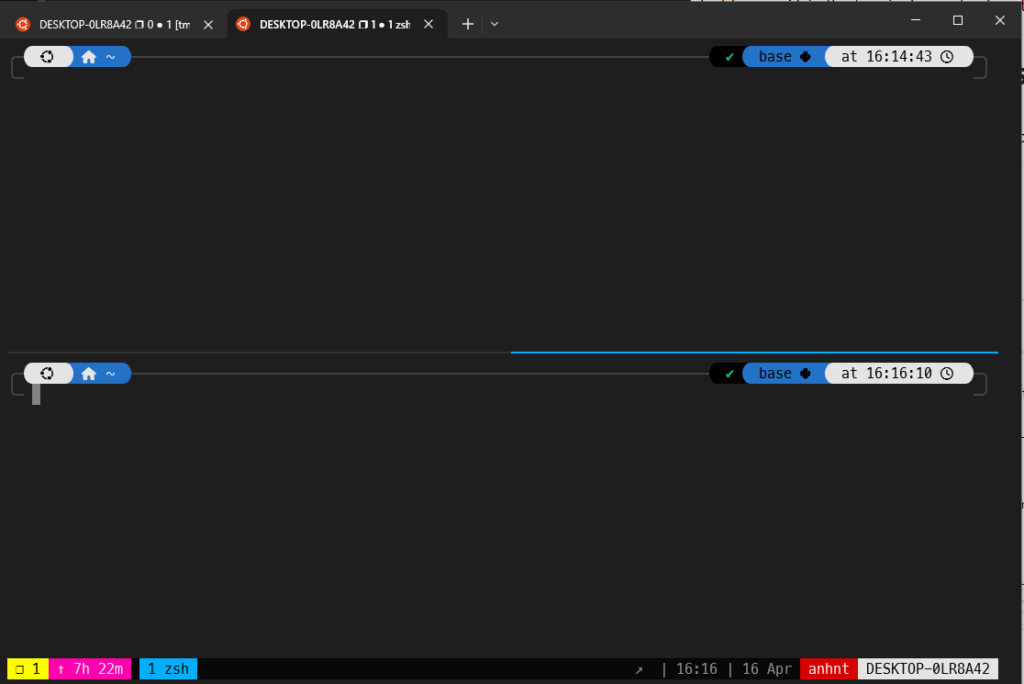
👉 Split horizontally:
Ctrl + a, then "Splits the current window into top and bottom panes.
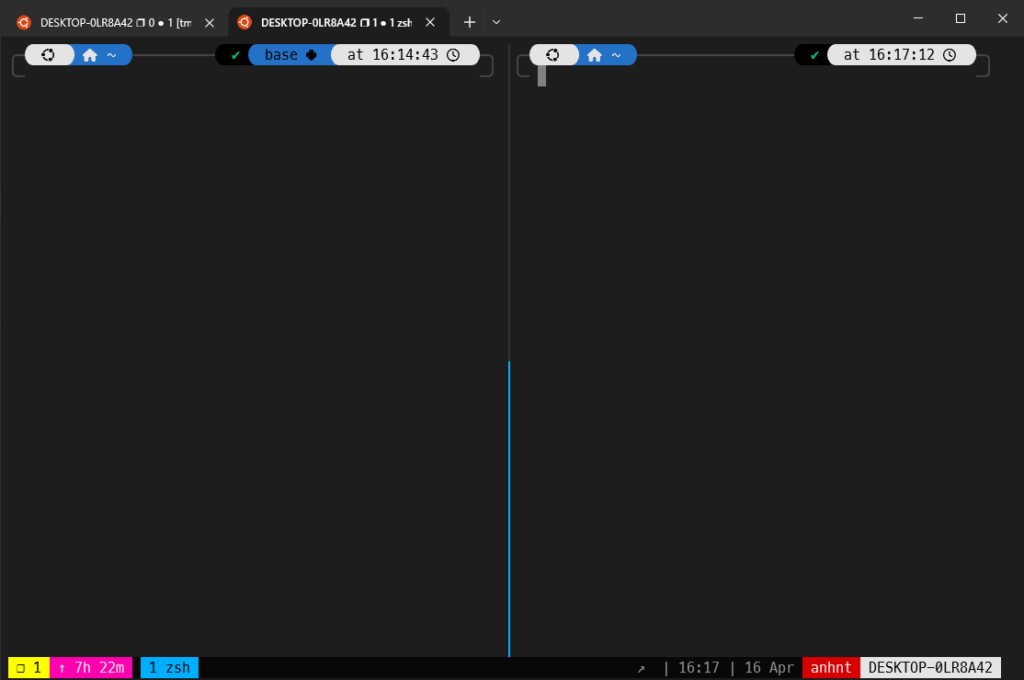
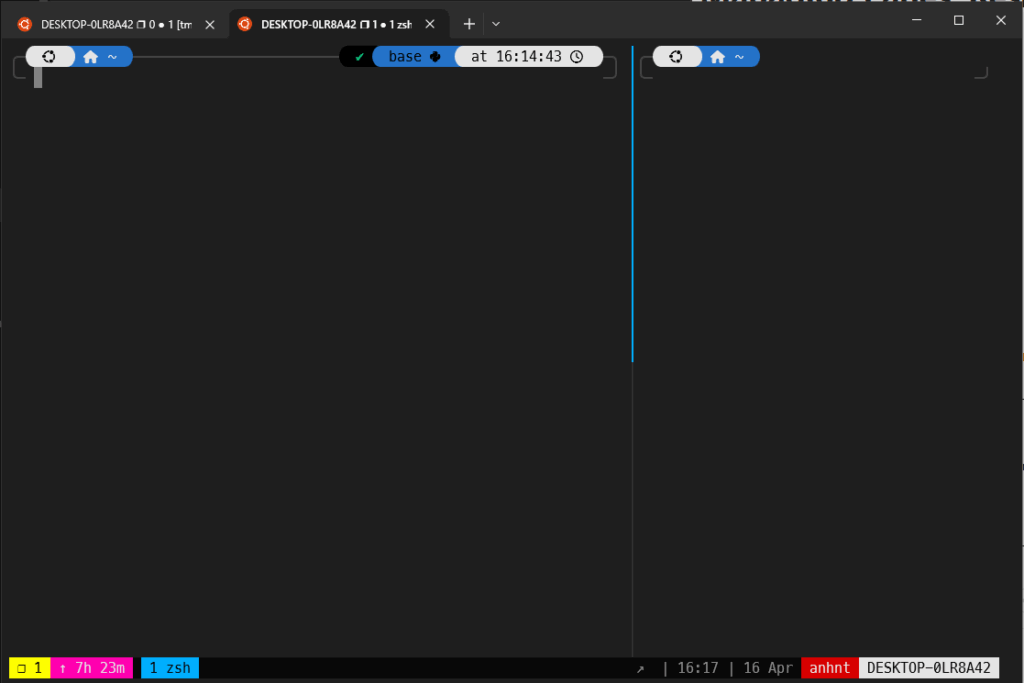
👉 Split vertically:
Ctrl + a, then %Splits the current window into left and right panes.
👉 Navigate between panes:
Ctrl + a, then Arrow Key (← ↑ ↓ →)Managing Panes: Resize, Layouts, and More
👉 Resize panes:
- Hold
Ctrl + a, then press and hold:Alt + ↑to increase heightAlt + ↓to decrease heightAlt + ←to decrease widthAlt + →to increase width
On some systems, you might need to use a different modifier (e.g., Option or ESC). Check your terminal settings if resizing doesn’t work as expected.
👉 Toggle layouts:
Ctrl + a, then spaceCycles through predefined layouts like even-horizontal, even-vertical, tiled, etc.
👉 Swap panes:
Ctrl + a, then oSwap the current pane with the next one in the layout.
Save Your Layout (Manually)
If you’ve set up the perfect layout and don’t want to rebuild it every time:
- Use scripts to auto-start your session
- Or install plugins to auto-save sessions
Tips
Use descriptive window names to reduce confusion in multi-window sessions.
Combine tmux panes with tools like htop, tail -f, or vim for a supercharged dev environment.
Use Ctrl + a + w to get a list of all windows and jump around with fuzzy search vibes.
Real Use Case Example
# Window 1: Code
- Pane 1: Vim editing
- Pane 2: Git status/logs

# Window 2: Server
- Pane 1: Running backend (e.g., npm start)
- Pane 2: Watching logs with tail -f

# Window 3: Database
- Pane 1: psql / database CLI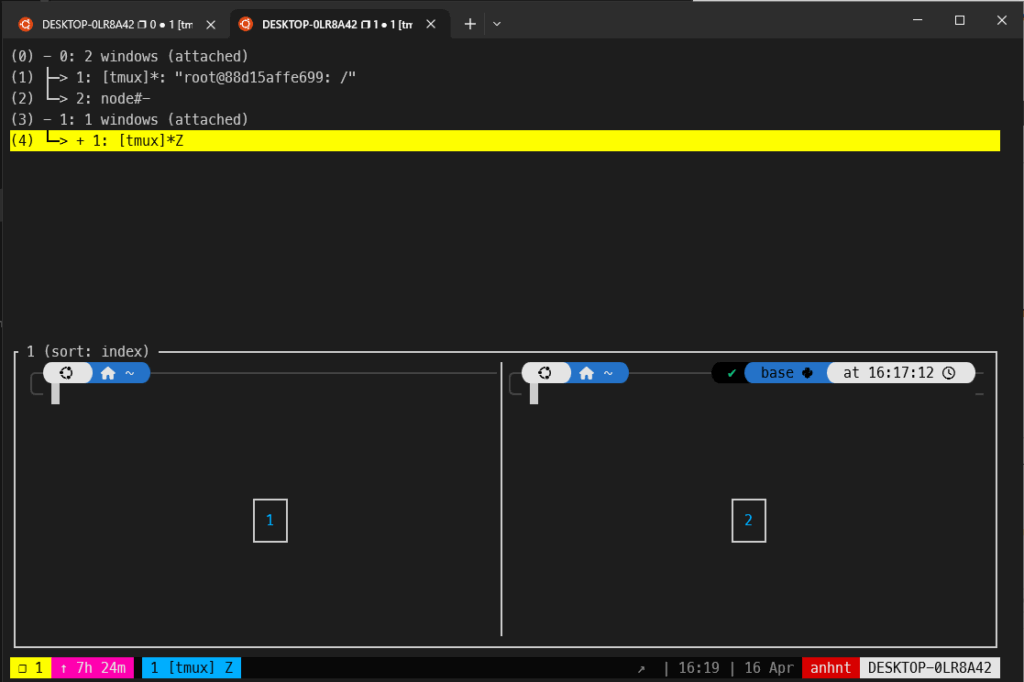
All running in the same session. One key combo to jump between them.
Cleaning Up
To close a pane, just type:
exitTo kill a specific window:
Ctrl + a, then &Conclusion
tmux windows and panes are the backbone of a powerful terminal workflow. They let you multitask efficiently without ever leaving the terminal. Once you get the muscle memory down, you’ll feel like a command-line wizard.
In the next blog, we’ll dive into advanced customization and scripting, showing how to automate your setup and make tmux work exactly the way you want it to.
Stay sharp. Stay multiplexed.