Introduction
In the previous blog, I already introduced you to tmux and explained why it’s such a powerful tool for developers and sysadmins. Now, in this post, we’ll cover how to install tmux, get it up and running, and configure it to suit your workflow. By the end of this blog, you’ll be able to customize tmux for a better user experience.
Installing tmux
Before you can start using tmux, you need to install it. Here’s how to install tmux on various operating systems:
Linux (Ubuntu/Debian-based systems)
To install tmux on Ubuntu or Debian, run the following command in the terminal:
sudo apt-get update
sudo apt-get install tmux -y
macOS
If you are on macOS, first install Homebrew (a famous package manager for macOS) using this command inside terminal:
/bin/bash -c "$(curl -fsSL https://raw.githubusercontent.com/Homebrew/install/HEAD/install.sh)"Then, simply use this command to install tmux
brew install tmuxWindows
For Windows, there’s no direct way to install tmux, but you can use workaround solution to install it like use Windows Subsystem for Linux (WSL) to run tmux inside a Linux envrionments. Here is step by step to install tmux inside WSL:
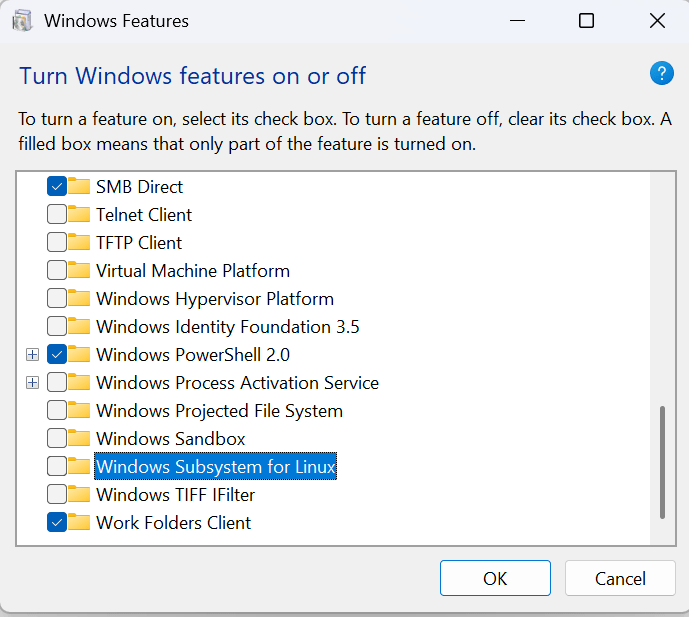
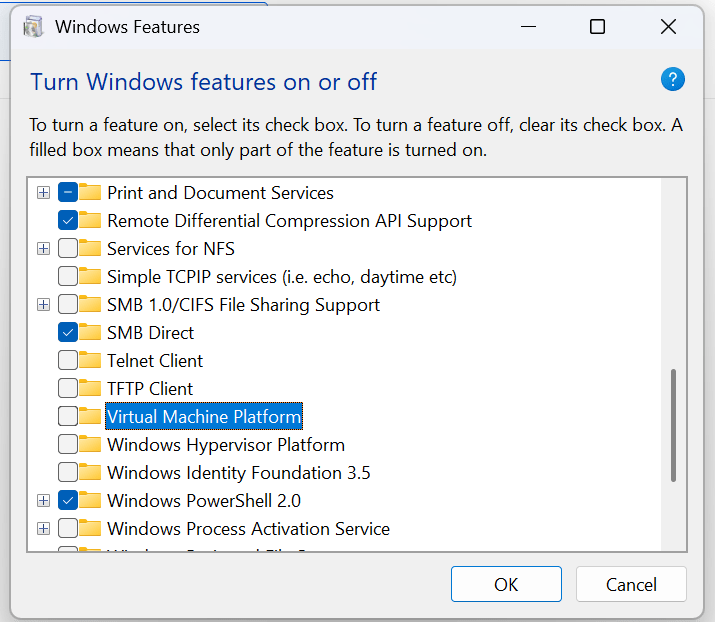
Step 1: Enable the Windows Subsystem for Linux and Virtual Machine Platform in Windows Features windows:
Alternatively, you can enable these feature using this command in PowerShell as Administrator:
dism.exe /online /enable-feature /featurename:Microsoft-Windows-Subsystem-Linux /all /norestart
dism.exe /online /enable-feature /featurename:VirtualMachinePlatform /all /norestart
After enable it, just restart your machine to make sure Windows complete install WSL and update to WSL2.
Step 2: Open a PowerShell prompt as an Administrator (we recommend using Windows Terminal) and run this command:
wsl --installStep 3: Install Ubuntu WSL
There are multiple ways of installing distros on WSL, I will focus on two options: the Microsoft Store application and WSL commands run in the terminal.
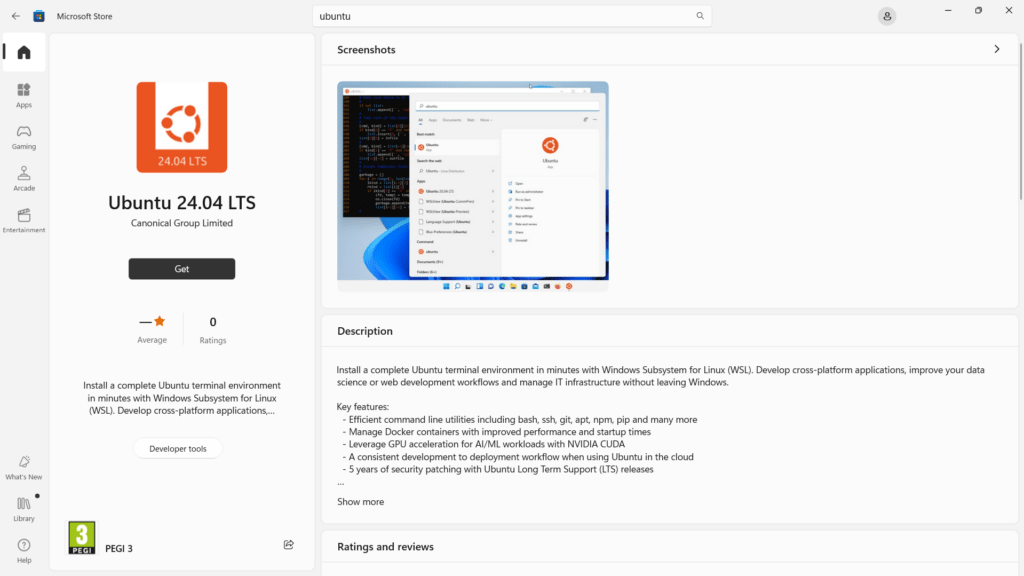
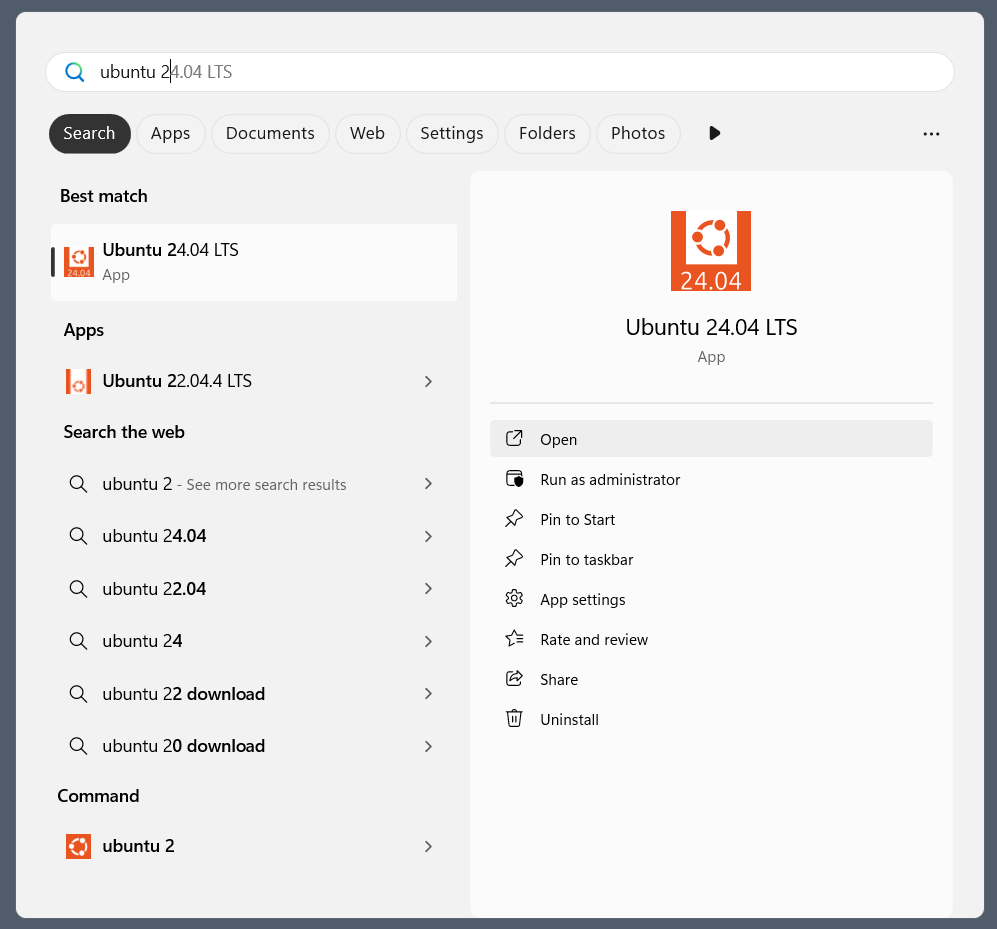
- Microsoft Store installation
Find the distribution you prefer on the Microsoft Store and then click Get to install.
- WSL commands in the terminal
In a Powershell terminal, you can run wsl --list --online to see output with all available distros and versions:
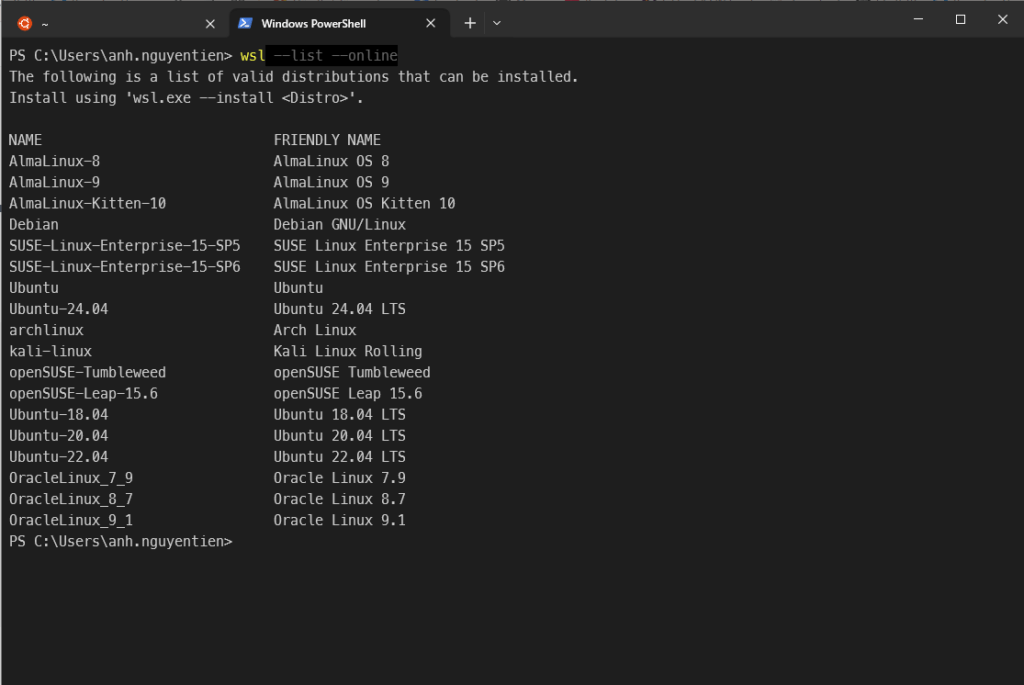
Your list may be different once new distributions become available.
You can Install a version using a NAME from the output:
wsl --install -d Ubuntu-24.04You will see an indicator of the installation progress in the terminal:
Installing: Ubuntu 24.04 LTS
[==========================72,0%==========                 ]
Use wsl -l -v to see all your currently installed distros and the version of WSL that they are using:
  NAME            STATE           VERSION
  Ubuntu-20.04    Stopped         2
* Ubuntu-24.04    Stopped         2
Step 4: After the installation, run these command to install tmux inside wsl
sudo apt update
sudo apt full-upgrade -y
sudo apt-get install tmux -y
Starting tmux
Once tmux is installed, you can start by typing this command in terminal:
tmuxThis will start a new tmux session and drop you into its interface. You can also create a named session:
tmux new-session -s mysessionThis starts a session named mysession, which is useful for managing multiple sessions.
To detach from a session, press this command and this will keep the session running in the background.:
Ctrl + b, then dtmux Configuration: .tmux.conf
One of tmux’s most powerful features is its configurability. By editing the .tmux.conf file, you can customize your tmux environment to match your workflow. This file is typically located in your home directory (~/.tmux.conf), but you may need to create it if it doesn’t already exist.
Create a .tmux.conf file
Create or open the .tmux.conf file in your preferred text editor and you can add various customizations, such as key bindings, themes, and behaviors:
nvim ~/.tmux.confExample customizations:
Here are some commond customization you can add to your .tmux.conf file:
- Set a Prefix Key
By default,tmuxusesCtrl+bas the prefix key, but it may hard to reach because of it long distance betweenctrlandbbutton. But you can change it to something more comfortable, such asctrl + a(like in GNU sceen):
  set-option -g prefix C-a
bind-key C-a send-prefix- Enable Mouse support
To use the mouse for selecting windows and resizing panes, add:
set -g mouse on- Change the status bar color
You can change the color of the tmux status bar for better visibility:
set -g status-bg blue
set -g status-fg white- Improve pane navigation
By default, tmux requires you to use Ctrl + b followed by arrow keys to navigate between panes. You can streamline this by making the arrow keys work directly after pressing the prefix key:
bind h select-pane -L
bind j select-pane -D
bind k select-pane -U
bind l select-pane -R- Set the default window layout
If you prefer a specific window layout (e.g., 2 vertical panes by default), add:
setw -g mode-keys vi
new-session -d -s default
split-window -v
select-layout even-vertical
Reloading the Configuration File
After editing the .tmux.conf file, reload tmux to apply the changes:
tmux source-file ~/.tmux.confAlternatively, if you’re inside a tmux session, press Ctrl + b followed by : and type the command above.
Using tmux Plugins: tmux Plugin Manager (TPM)
- Clone the TPM repository into your tmux configuration directory:
git clone https://github.com/tmux-plugins/tpm ~/.tmux/plugins/tpm- Add the following line to your .tmux.conf file to load TPM:
run -b '~/.tmux/plugins/tpm/tpm'- Install plugins using TPM. For example, to install the tmux-resurrect plugin (which helps save and restore tmux sessions), add the following to your .tmux.conf:
set -g @plugin 'tmux-plugins/tmux-resurrect'- After saving the .tmux.conf file, press Ctrl + b followed by I (uppercase i) to install the plugin.
Useful Plugins
- tmux-resurrect: Save and restore tmux sessions across reboots.
- tmux-continuum: Automatically saves and restores tmux sessions at regular intervals.
- tmuxinator: Project-specific tmux session management.
Conclusion
In this blog, I’ve covered the essential steps to get tmux up and running, how to customize it through the .tmux.conf file, and how to install and use plugins with the tmux Plugin Manager (TPM). With this knowledge, you’re ready to personalize your tmux experience and start using it effectively in your workflow.