I. Tại sao chúng ta nên sử dụng .NET và Angular cho vấn đề này?
.NET là một giải pháp server-side trưởng thành và ổn định với nhiều lợi ích. Ví dụ:
- Nó miễn phí!
- Mỗi phiên bản chính mới đều cải thiện so với phiên bản trước.
- Có mặt trên hầu hết các nền tảng bạn có thể nghĩ đến.
- Hỗ trợ chỉnh sửa tuyệt vời với Visual Studio hoặc JetBrains Rider.
- Cho phép bạn xây dựng và triển khai một ứng dụng đơn giản bằng cách biên dịch mã nguồn thành một tệp thực thi và chỉ cần phân phối tệp đó.
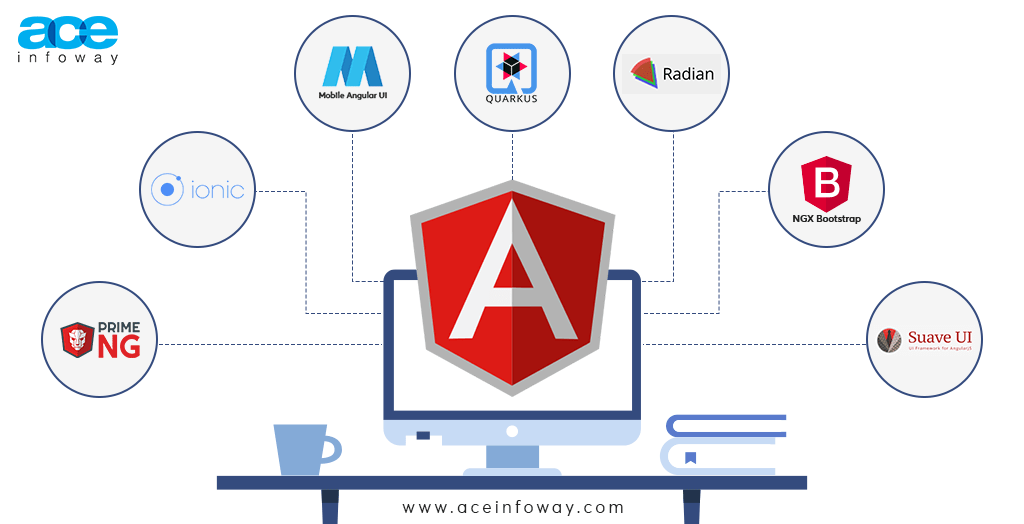
Tương tự, Angular cũng là một framework ổn định và trưởng thành dành cho frontend. Microsoft đã gia nhập lĩnh vực này với Blazor, nhưng nhiều nhà phát triển vẫn ưa chuộng Angular hoặc đã học Angular trước khi Blazor xuất hiện. Angular cũng có các UI framework tuyệt vời như Angular Material.
Gần đây, Angular đã thêm tính năng mới là Signals, giúp cải thiện tính phản ứng của ứng dụng. Có thể gây nhầm lẫn giữa Signals trong Angular và SignalR trong .NET, vì vậy chúng ta cần phân biệt rõ ràng giữa hai công nghệ này, như chúng ta sẽ làm trong bài viết này.
II. SignalR hoạt động như thế nào?
SignalR hoạt động bằng cách sử dụng nhiều phương thức kết nối thời gian thực khác nhau để gửi thông báo đến các ứng dụng.
Trước khi có SignalR, nếu bạn là một nhà phát triển .NET và muốn sử dụng nhắn tin thời gian thực, bạn phải quyết định xem bạn muốn sử dụng WebSockets, server-side events, hay HTTP long polling. Nếu một client không hỗ trợ một trong những phương thức này, bạn sẽ phải tự triển khai nó, điều này gây thêm nhiều gánh nặng phát triển.
SignalR tự động chọn phương thức kết nối phù hợp dựa trên những gì client hỗ trợ. Thông thường, nó sẽ ưu tiên WebSockets, nhưng cũng có thể chuyển sang server-side events hoặc HTTP long polling nếu cần. SignalR cũng hỗ trợ kết nối lại tự động, vì vậy ngay cả khi kết nối của bạn không ổn định, nó sẽ tự động xử lý việc kết nối lại cho bạn.
III. Triển khai ứng dụng Chat bằng Angular realtime:
Dưới đây là hướng dẫn chi tiết triển khai ứng dụng chat real-time bằng Angular và SignalR với .NET. Bài viết sẽ hướng dẫn bạn từ việc thiết lập backend với SignalR trong .NET đến việc xây dựng ứng dụng frontend với Angular để kết nối và sử dụng dịch vụ chat real-time.
1. Cài Đặt Backend với SignalR .NET
Bước 1: Tạo Dự Án .NET
- Mở Visual Studio và tạo một dự án ASP.NET Core Web API mới.
- Đặt tên cho dự án, ví dụ:
ChatAppBackend.
Bước 2: Cài Đặt SignalR
1. Mở NuGet Package Manager và cài đặt gói Microsoft.AspNetCore.SignalR.
- Chạy lệnh: dotnet add package Microsoft.AspNetCore.SignalR
2. Tạo một Hub mới để xử lý các kết nối và giao tiếp giữa client và server.
// Hubs/ChatHub.cs
using Microsoft.AspNetCore.SignalR;
using System.Threading.Tasks;

public class ChatHub : Hub
{
    public async Task SendMessage(string user, string message)
    {
        await Clients.All.SendAsync("ReceiveMessage", user, message);
    }
}
Bước 3: Cấu hình SignalR trong Startup.cs.
// Startup.cs
public class Startup
{
    public void ConfigureServices(IServiceCollection services)
    {
        services.AddControllers();
        services.AddSignalR();
    }

    public void Configure(IApplicationBuilder app, IWebHostEnvironment env)
    {
        if (env.IsDevelopment())
        {
            app.UseDeveloperExceptionPage();
        }
        else
        {
            app.UseExceptionHandler("/Home/Error");
            app.UseHsts();
        }

        app.UseHttpsRedirection();
        app.UseStaticFiles();
        app.UseRouting();
        app.UseAuthorization();

        app.UseEndpoints(endpoints =>
        {
            endpoints.MapControllers();
            endpoints.MapHub<ChatHub>("/chathub");
        });
    }
}
Bước 4: Chạy ứng dụng backend để kiểm tra việc kết nối SignalR
2. Xây Dựng Frontend với Angular
Bước 1: Tạo Dự Án Angular
Mở terminal và tạo một dự án Angular mới.
ng new ChatAppFrontendBước 2: Cài Đặt Thư Viện SignalR Client
Mở terminal và chạy lệnh
npm install @microsoft/signalrBước 3: Tạo Service để Kết Nối SignalR
Tạo một service để xử lý kết nối với SignalR.
// src/app/services/chat.service.ts
import { Injectable } from '@angular/core';
import * as SignalR from '@microsoft/signalr';

@Injectable({
  providedIn: 'root'
})
export class ChatService {
  private hubConnection: SignalR.HubConnection;

  constructor() {
    this.hubConnection = new SignalR.HubConnectionBuilder()
      .withUrl('https://localhost:5001/chathub')
      .build();

    this.hubConnection.start().catch(err => console.error('Error while starting connection: ' + err));
  }

  public sendMessage(user: string, message: string): void {
    this.hubConnection.invoke('SendMessage', user, message)
      .catch(err => console.error('Error while sending message: ' + err));
  }

  public onMessageReceived(callback: (user: string, message: string) => void): void {
    this.hubConnection.on('ReceiveMessage', callback);
  }
}
Bước 4: Tạo Component Chat
Tạo một component để hiển thị giao diện chat.
ng generate component chatCập nhật component để sử dụng ChatService.
// src/app/chat/chat.component.ts
import { Component, OnInit } from '@angular/core';
import { ChatService } from '../services/chat.service';

@Component({
  selector: 'app-chat',
  templateUrl: './chat.component.html',
  styleUrls: ['./chat.component.css']
})
export class ChatComponent implements OnInit {
  public user: string = '';
  public message: string = '';
  public messages: Array<{user: string, message: string}> = [];

  constructor(private chatService: ChatService) {}

  ngOnInit(): void {
    this.chatService.onMessageReceived((user: string, message: string) => {
      this.messages.push({user, message});
    });
  }

  public sendMessage(): void {
    if (this.user && this.message) {
      this.chatService.sendMessage(this.user, this.message);
      this.message = '';
    }
  }
}
Cập nhật template của component.
<!-- src/app/chat/chat.component.html -->
<div>
  <input [(ngModel)]="user" placeholder="Your name" />
  <input [(ngModel)]="message" placeholder="Your message" />
  <button (click)="sendMessage()">Send</button>
</div>
<div *ngFor="let msg of messages">
  <strong>{{ msg.user }}:</strong> {{ msg.message }}
</div>
Đảm bảo bạn đã cài đặt FormsModule trong AppModule để sử dụng ngModel.
// src/app/app.module.ts
import { NgModule } from '@angular/core';
import { BrowserModule } from '@angular/platform-browser';
import { FormsModule } from '@angular/forms';
import { AppComponent } from './app.component';
import { ChatComponent } from './chat/chat.component';

@NgModule({
  declarations: [
    AppComponent,
    ChatComponent
  ],
  imports: [
    BrowserModule,
    FormsModule
  ],
  providers: [],
  bootstrap: [AppComponent]
})
export class AppModule { }
3. Chạy Ứng Dụng
Chạy ứng dụng backend: dotnet run
Chạy ứng dụng frontend: ng serve
Mở trình duyệt và truy cập vào http://localhost:4200. Bạn sẽ thấy ứng dụng chat đơn giản hoạt động real-time với SignalR.
Kết Luận
Với hướng dẫn này, bạn đã tạo một ứng dụng chat real-time bằng Angular và SignalR .NET. SignalR cung cấp khả năng giao tiếp real-time giữa client và server, làm cho ứng dụng chat trở nên mượt mà và nhanh chóng. Bạn có thể mở rộng ứng dụng này với các tính năng như nhóm chat, quản lý người dùng, và nhiều hơn nữa.
Link tham khảo thêm: https://blog.logrocket.com/using-real-time-data-angular-signalr/